To create an image you need a certain amount of light. If I were to tell that I regularly use a filter that reduces the amount of light that reaches a camera’s sensor would you think me a little odd? Well, there is such a filter and it’s called an ND or neutral density filter.
You would be forgiven for wondering why you’d need such a filter. It all comes down to control of the aesthetics of an image. Shutter speed controls how movement is rendered in an image. The slower the shutter speed, the more blurred and indistinct movement becomes. Aperture controls depth of field and how much of an image is in focus. Usually you’d trade one off against the other. So, if you needed a longer shutter speed you’d use a smaller aperture or if you needed a larger aperture you’d use a faster shutter speed (you could also of course alter the ISO but we’ll leave that out of the equation for simplicity). The problem comes when you want to use a particular combination of shutter speed and aperture for effect, but you can’t because there is too much light (and the ISO setting on your camera is as low as it can go).
This is when you would use an ND filter. The filters come in a variety of strengths, such as 1-stop, 2-stop and so on. ND filters artificially lower the light levels allowing greater control over the exposure settings (by extending shutter speeds or allowing the use of larger apertures). Think of ND filters as sunglasses for your camera.
Recently there has been a lot of interest in extreme ND filters such as Lee Filter’s ‘Big Stopper’ and Hitech’s ‘Pro Stopper’ (the Lee filter is a 10-stop ND filter, Hitech’s Pro Stopper is available in a variety of strengths from 6 to 10-stops). So dense are extreme ND filters that it’s almost impossible to see through them. This means that shutter speeds can be altered from fractions of a second to whole seconds, even minutes (which means mounting your camera on a tripod).
ND, as stated above, stands for neutral density. Usually this means that a filter is neutral in colour and won’t affect the colours in the image. Unfortunately extreme ND filters aren’t neutral. Not even close. Depending on the brand they either add a deep sepia or blue cast to an image. This is not a big problem if you intend to convert your images to black and white (and in fact the effect created by extreme ND filters suits black and white imagery). If you’re shooting colour you’ll need to counteract the colour cast either by creating a custom white balance in-camera or be prepared to adjust the colour later in post-processing.
As extreme ND filters are so opaque tasks such as composition and focusing should be done before fitting the filter. As to exposure your camera should be set to Manual and the exposure initially calculated without the filter. You’d then alter the shutter speed or aperture to compensate for the strength of the filter (using your camera’s Bulb setting if the shutter speed exceeds 30 seconds). There are apps available – such as LongTime for Apple iOS – that take the head scratching frustration out of calculating filtered exposures. During the exposure it’s a good idea to keep your camera’s viewfinder covered as light can leak back through the viewfinder and add unwanted artefacts to the final image.
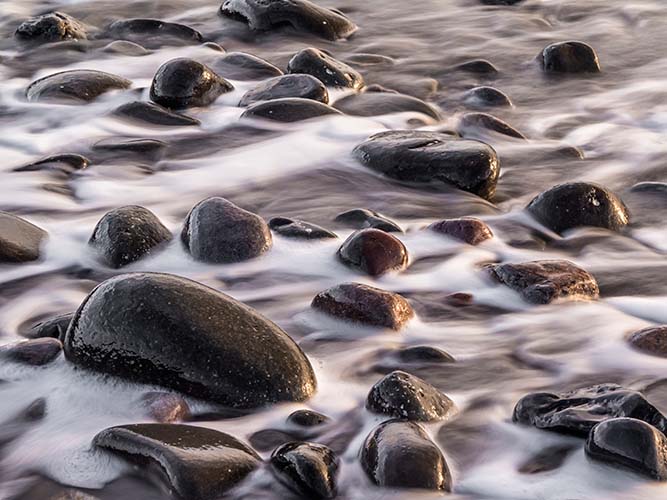
A subject that works well with extreme ND filters is running water, particularly tidal water as it washes back and forth. To add visual contrast it’s worth including something static in the composition. Rocks are always a good standby as they are unlikely to move during the exposure. Unless of course you try to use a very, very long shutter speed… However, you’ll probably find you camera battery dies before geological time scales become an issue.
Originally posted on MyPhotoSchool